How to make Simple, Quick Bleach Tie Dye T-shirts for Summer!
Summer is here! I can practically smell the sweat, sunblock and chlorine! it’s fabulous!
To ring in our fun summer vacation and all the festivities about to take place, I decided I wanted to do some kind of craft with my kids!
When choosing a craft, I like to pick ones that are practical, usable, easy and will last for awhile.
Now, we love Tie Dye around our house, but it can be complicated and frankly a big pain in the heart shaped rear end… if you’re lucky enough to have such a rear end.
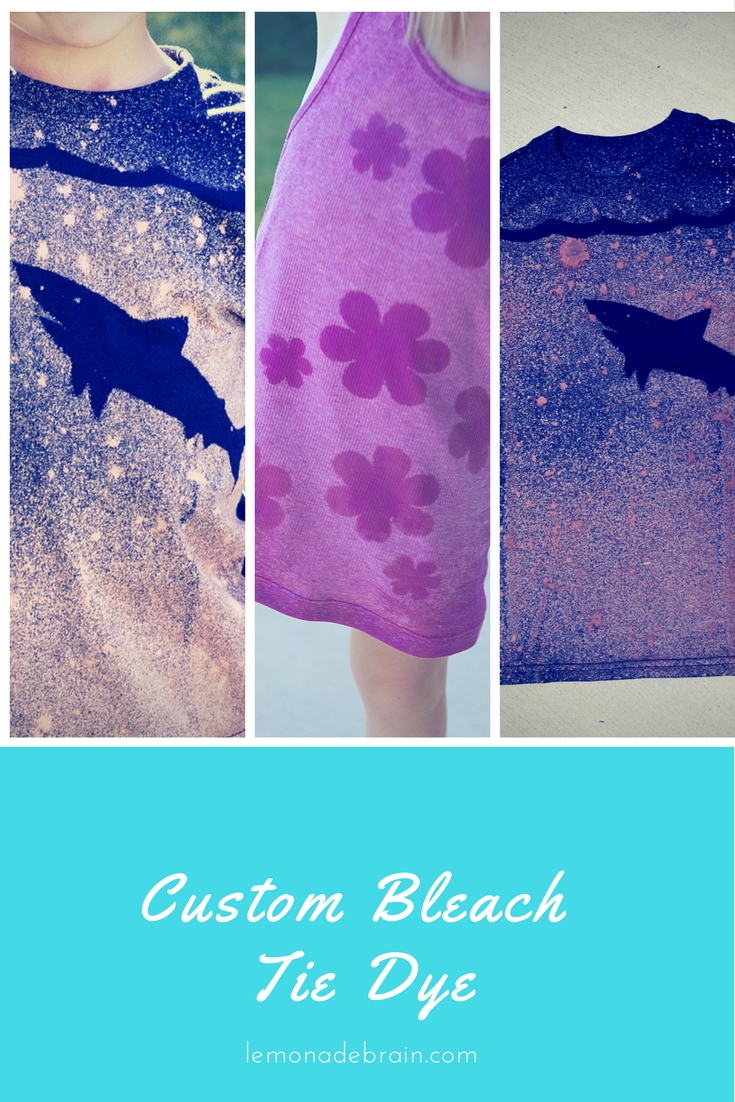
That is when I decided we would try something different. Bleach tie Dye! Let me tell you, it was a major success! I actually think I like the look so much better than actual tie Dye! And… it was much less expensive and not nearly as messy! SCORE
Here are the supplies you will need
- As many T-shirts, tank tops, pants, shorts, etc… as you like. I bought a few of the $2 T-shirts and tank tops from Walmart with my kids
- Bleach in a spray bottle. I didn’t water it down, but you can if you like. However, I liked how quickly the straight bleach worked.
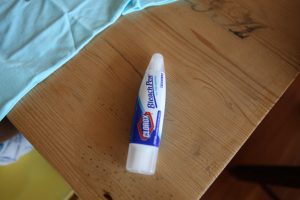
- Bleach pens like the ones you’ll find HERE! TIP: shake the bleach pens like crazy before using them. We learned the hard way that, if you don’t, the bleach comes out all watery at first
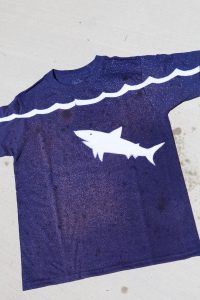
- If you’d like to do a custom shirt, buy some sticky back craft felt. Worked like a charm for my songs Shark shirt (pictured below.) You can also buy some pre-cut sticky back felt shapes. We had flowers on hand which thrilled my daughter. Thrilled Mom too. It was easy peasy.
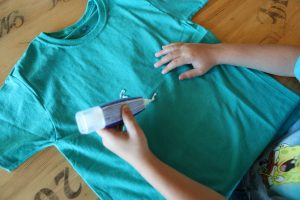
For the bleach pen shirt, shake the bleach pen, give it to your child and let them go to town. I stuck a few sheets of white paper inside of the shirt so that their design didn’t bleed through.
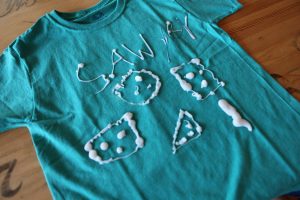 I loved this. It allowed my son to let his creative monster loose and just draw crazy, fun pictures. He then decided to write his name on the shirt.
We let it sit for about 10 minutes and then I rinsed it in cold water. I then threw it in the wash and washed it on cold.
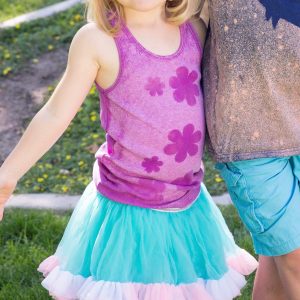
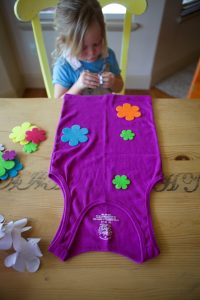
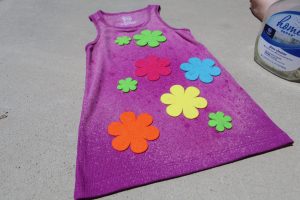
My daughter used the already cut sticky felt flowers. I piled the flowers on the table and let her place them to her hearts desire.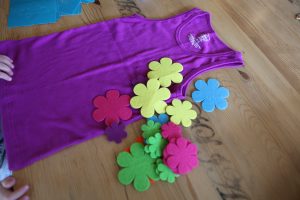
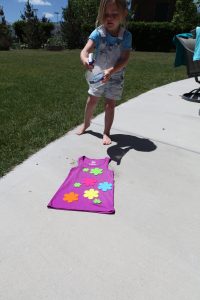
We then took the tank in the backyard on the cement and I let her spray it with the bleach I had poured into an old cleaning bottle.
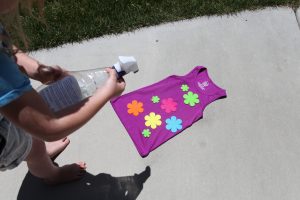
TIP: Start with a little at a time. If to wet, the bleach can soak under the felt shapes and destroy the image. Watch it closely. It changes fast. You can always add more, but you can’t really put the color back once the bleach has done it’s duty.
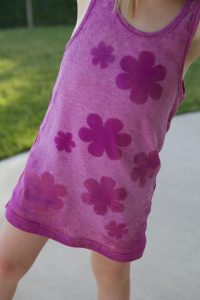
When the shirt has reached the desired color, remove the felt shapes and rinse in cold water. Then wash with cold water.
TIP: I waited till we were finished with all of our shirts and washed them together.
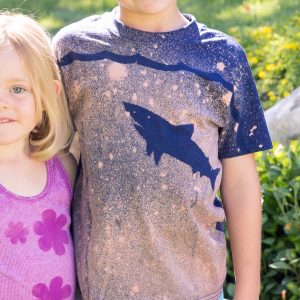
The outcome is adorable and she loves it… however, she thinks of it as a dress. Yea… not so much. Ha.
For my sons custom shark shirt (his idea) I found a silhouette of a shark online, printed and cut it out, traced that shark into the sticky back felt sheet and then let my son place it where he liked. We then cut out wave shapes and placed them along the top of the shirt.
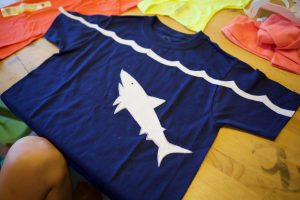
TIP: When printing your picture, if you can, change the silhouette from black to gray. You will save on ink this way
After we had his felt firmly in place, I took his shirt into the backyard and let him spray. 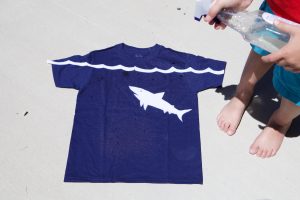
Carefully watch as it changes. It will change quickly.
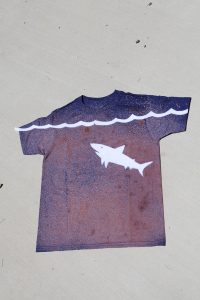
When you are happy (your child is happy) with the effect, carefully remove the felt, rinse in cold water and then wash.
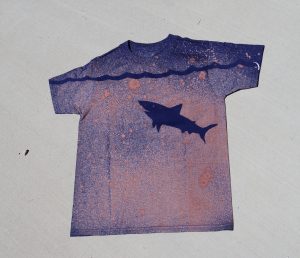
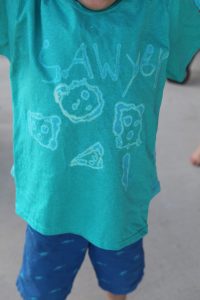
We were thrilled with the outcome. Plus, it’s simple, quick, looks cool and it won’t fade!
Even better, nobody will have a shirt like it. these are one of a kind!